30 December 2019

Adding Shaker boxes to Accent your Cards

IMG_4658wm
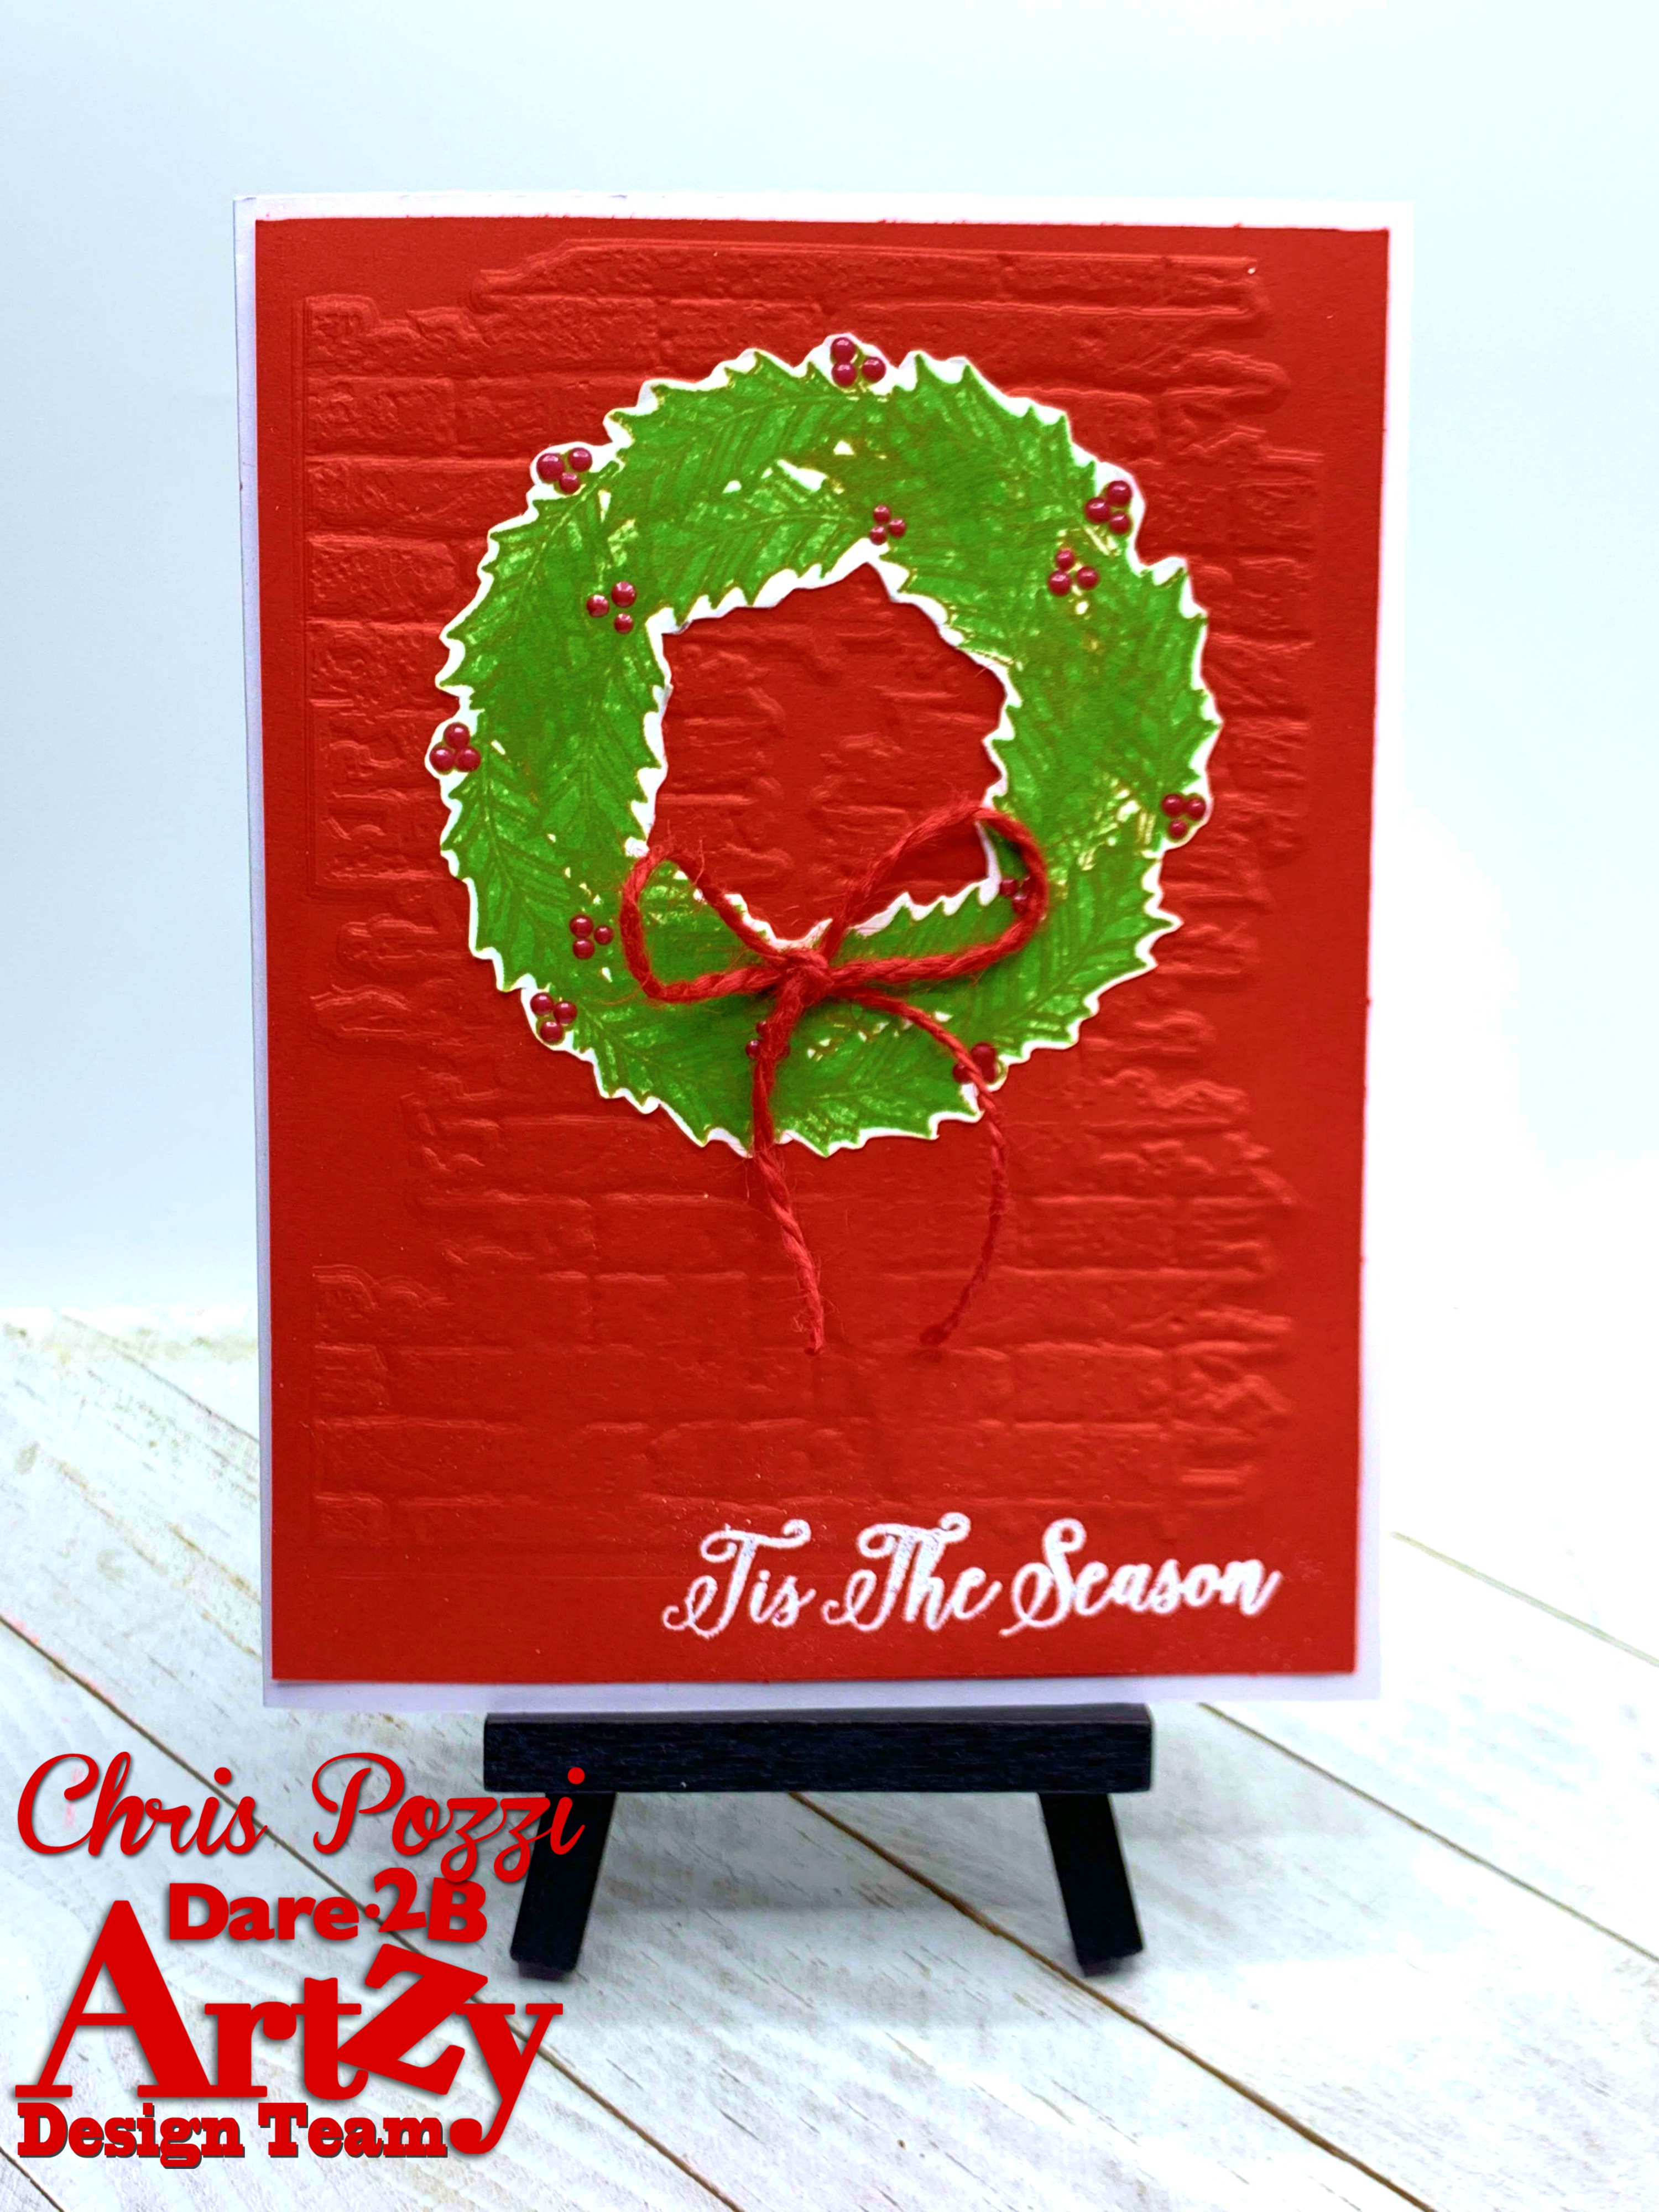
Today I am excited to share this cute Celebration shaker card which is perfect for a Happy New Year Card or any other Celebration! I am just getting started playing with Shakers and I love them!
Start with the  Mini Shaker Wine Glass  IMG_4627
Paint the shaker with silver paint. Note: my shaker required a few coats of paint to look silver.  I did only paint the top and bottom of the shaker box.
IMG_4627
Using your favorite adhesive begin assembling the shaker box.
IMG_4627
Add glitter before you add the acrylic and top piece.  I chose a large glitter to help with the "bubbly" effect.
IMG_4627
 Create your card base as desired.  I added 2 different patterned papers, creating a frame for my shaker box. Add your finished shake box to the card.  Add stamped greeting and glitter accents to finish your card.

29 December 2019

Mermaid Greetings


Greetings to all of you in mermaid land!  Kai Lana & Friends Mermaid Jellyfish Starfish Art Rubber Stamps designed by Stephanie Eaton are a perfect reminder that after the holiday we can all embrace our inner mermaid *wink*.  Supplies needed  Kai Lana & Friends Mermaid Jellyfish Starfish Art Rubber Stamps designed by Stephanie Eaton Ink -blue, green, black Ocean-y patterned paper white card stock markers or other preferred coloring device Starting off with a ocean-y patterned paper, stamp the sea weeds and plant from the   Kai Lana & Friends Mermaid Jellyfish Starfish Art Rubber Stamps designed by Stephanie Eaton.
Stamp mermaid and greetings onto white cardstock and fussy cut. Color mermaid as desired. Add to card to finish. 
Be sure to follow us
The Blank Page Muse- https://blankpagemuse.com/

28 December 2019

Stamping on Vellum made Easy


I love the look of stamping on vellum.  With ScraPerfect Perfect Crafting Pouch Stamping on Vellum has never been so easy!  

Start by stamping you image with Archival Ink.  You can see the shininess of the wet ink below. 

 Pounce the ScraPerfect Perfect Crafting Pouch  over the stamped image and the image is dry!

 Continue stamping your images and pouncing with the ScraPerfect Perfect Crafting Pouch.


 Stamp Sentiment and Pounce away with ScraPerfect Perfect Crafting Pouch.


Layer a piece of patterned paper onto Card base with ScraPerfect's Best Glue Ever with No Clog Writing Tip.  
Use  ScraPerfect's Best Glue Ever with No Clog Writing Tip.   to attach vellum to card base. 

 You can see that  ScraPerfect's Best Glue Ever requires only a small amount of glue and the No Clog Writing Tip makes it super simple to add just that little bit.

I hope you are inspired to try out the ScraPerfect Perfect Crafting Pouch.

16 December 2019

Snowy Snow Globe ornament

Holiday Greeting to you!   I love snow globes and couldn't wait to try my hand at creating a shaker box ornament.
Supplies Needed
Crop a dile or hole punch 
Ink- embossing, Black
Gold Embossing Powder
Glimmer Mist
Glitter
Start by stamping and embossing flourish from Blank Page Muse Art Journaling #2 Rubber Stamp Set by Terri Sproul onto snow globe. Emboss with gold embossing powder.  Spray with Glimmer Mist.
While drying, stamp Blank Page Muse Penguins on Ice Winter Holiday Rubber Stamp Sheet  onto card stock and color as desired. Adhere to snow globe base. Adhere using Scrap Perfect's Best Glue Ever inner pieces of shadow box, punching a hole for holder in top of each piece. 
Add glitter then transparency. Finish with dry shaker top.  You can see how "snowy" the inside of my globe is.
Finish ornament with bow and tie. Be sure to follow us
The Blank Page Muse- https://blankpagemuse.com/

15 December 2019

Creating Shaker ornaments


IMG_4541wm
Who doesn't love handmade ornaments and gift Tags. One of my favorite childhood Christmas memories is getting packages from my grandma with a hand made ornament attached.  Clear Scraps Mini Shakers  are perfect for creating personalized ornaments then Hang them on your packages to use as tags.

For my ornaments/tags I used two different shakers - The Mini Shaker Bone , which is perfect for all the dog mommies and daddies out there, and the Mini Shaker Snowglobe.

Paint The Mini Shaker Bone  with white or cream paint.  Fill the shaker with glitter and write the name on the acrylic.
IMG_4539
the Mini Shaker Snowglobe
Start by coloring your image for inside your snowglobe.

IMG_4539
Paint the top piece of the snowglobe. Trace base onto a corrugated paper and fussy cut to fit.
IMG_4539
Add a bronze wax to highlight corrugated paper.

IMG_4539
Assemble Shaker box, adding glitter.

Here is a close up of all the sparkly goodness!
IMG_4539
IMG_4539
I hope you are inspired to get crafty with your shakers!

14 December 2019

Create a Stamped Wreath using Dare 2 B Artzy Stamps

Greetings!  This stamped Christmas Wreath Card is a a quick and easy card for those last minute holiday greetings. I just love taking my stamps and creating new images with them.

Start by drawing a circle on your card stock.  Using Dare 2B Artzy's Holiday Rose Stamp Set, stamp holly leaf outline around the circle.
  
 Repeat stamping again to widen wreath.
  Stamp Dare 2B Artzy's Holiday Rose Stamp Set holly leaf in the outlines.  


 Stamp additional holly leaves as needed to fill wreath.
.
    
 Add berries with Dimensional paints.
  Fussy cut wreath.  Emboss a background card stock and Stamp Tis the Season from Tis the Season Stamp Set.  Emboss with embossing powder.  


Add wreath and bow to finish.   I Hope you are inspired to get Artzy!

12 December 2019

Sprucing up a Holiday Wreath with ScraPerfect's Best Glue Ever


While walking through our local craft store I found a simple wreath.  I thought it looked a little plain for my taste, so I decided to embellish it to spruce it up.  

I grabbed a cute little wood sign and some berry sprigs and some leftover ribbon to spruce up the wreath, and of course my favorite ScraPerfect Best Ever Glue. 


ScraPerfect Best Ever Glue is perfect for adhering the sign to the center of the wreath.


I cut the berries and added just a little bit of the ScraPerfect Best Ever Glue. and spread them throughout my wreath. 

Here is another close up of the finished wreath. 


Stampin' Up! Sentimental Rose Card Kit Additional Cards Part 1

  Welcome crafty stampers to today's Craft Room Therapy.  Today I am sharing 3 of the 10 additional cards I created using the Sentiment...